


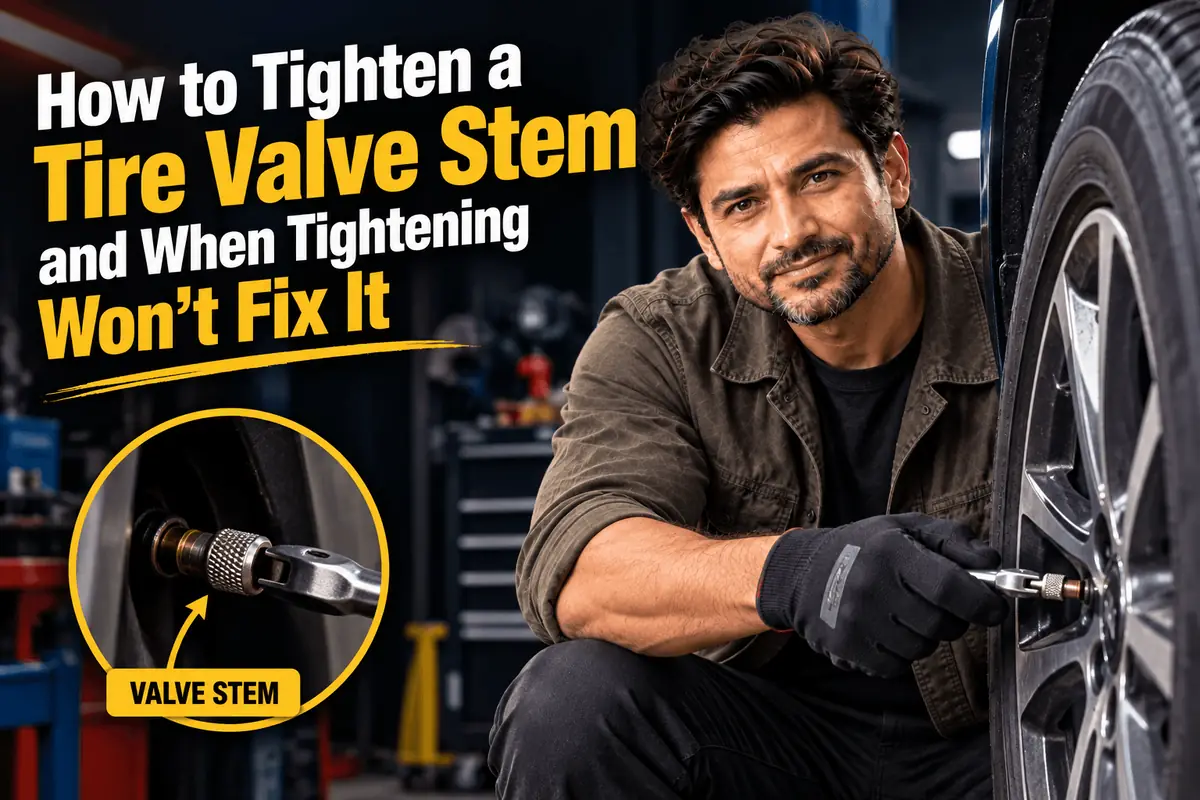
One tire keeps drifting a few psi low. There is no nail in the tread, the bead looks fine, and the pressure warning comes back every week or two. Sooner or later, someone suggests the valve stem, and you go looking for a way to tighten it.
Here is what most guides gloss over: in most cases, what you can actually tighten is the valve core, the small spring-loaded valve threaded inside the stem. The stem itself is either a snap-in rubber part that cannot be tightened at all, or a clamp-in metal stem held by a nut that has to be torqued to a precise specification, which makes it a shop job. This guide explains how to find the leak, how to snug a loose core safely, which stems need a shop and when stems should simply be replaced.
Table of Contents
Know What You’re Working With
A tire valve has two main parts. The stem is the tube that passes through the hole in the wheel and seals against it. The valve core is the tiny threaded valve inside the stem. When a pump chuck presses the pin in the center of the core, air flows in. When the chuck comes off, a spring snaps the core shut. Almost every passenger car valve in the US uses this Schrader-style core.
Stems come in three main types, and the type decides what you can do yourself.
| Valve Type | How It’s Held in the Wheel | What You Can Tighten | Fix for a Leaking Stem |
|---|---|---|---|
| Snap-in rubber | Rubber body pulled through the rim hole and held by its own shape | Only the valve core | Replace the stem, which means dismounting the tire |
| Clamp-in metal | Metal stem with a sealing grommet and a retaining nut | Valve core yourself; the nut is a shop job | Tighten or reseal the nut to spec, or replace the stem |
| TPMS stem | Usually clamp-in metal or snap-in rubber, with the pressure sensor attached inside the wheel | Valve core yourself; the nut is a shop job | Service kit or new stem fitted by a shop, torqued to spec |
Snap-in rubber stems are the most common on everyday cars without stem-mounted sensors. Clamp-in stems show up on many performance wheels and on most vehicles with stem-mounted tire pressure sensors. You can usually tell them apart by looking: a rubber stem has a black rubber body, while a clamp-in stem is bare metal, often aluminum, with a nut visible on the outside of the rim.
Step One: Find the Leak With Soapy Water
Before you tighten anything, confirm that the valve is actually the problem. Slow leaks also come from punctures, a leaking bead where the tire meets the rim and porous or corroded wheels.
You will need a spray bottle or a cup of water with a good squirt of dish soap, a tire gauge and a flashlight.
- Inflate the tire to the pressure on the door jamb placard. A leak is easier to find with the tire at full pressure.
- Remove the valve cap and set it somewhere you will not lose it.
- Spray or brush soapy water over the open end of the valve, where the core sits.
- Watch for a few seconds. A slow stream of tiny bubbles, or a foamy bubble that keeps growing, means air is escaping past the core.
- Next, wet the stem where it meets the wheel, and if you can, the base of the stem on the outside of the rim.
- Finally, wet the bead all the way around the rim and the tread, rolling the car partway to reach the bottom section.
Where the bubbles appear tells you what to do next.
- Bubbles at the tip of the valve: the core is loose, dirty or failing. This is the one you can usually fix in minutes.
- Bubbles where the stem enters the wheel: the stem seal is leaking. On a rubber stem that means replacement. On a clamp-in or TPMS stem, the nut or grommet needs attention from a shop.
- Bubbles through cracks in the rubber stem body: the stem is worn out and must be replaced.
- Bubbles along the bead or in the tread: the valve is not your problem. Have the tire inspected for a puncture or a bead leak.
Step Two: Tighten the Valve Core
If the bubbles are coming from the tip of the valve, a loose core is the likely culprit. Cores can back out slightly over time from vibration, temperature changes or a previous installation that was never snug.
Tools You’ll Need
The only special tool is a valve core tool, an inexpensive pencil-sized tool with a slotted tip that fits over the flats on the core. They are sold at auto parts stores, and many metal valve caps have a core tool built into the top. Some tools also have an internal clutch that limits torque, which is a nice safeguard. Do not use pliers, a screwdriver or improvised tools inside the stem. They can mangle the core or damage the threads in the stem, and then you have a bigger problem.
How to Do It
- Remove the valve cap.
- Slide the core tool into the stem until the tip engages the flats on the core. You will feel it seat.
- Turn the tool clockwise gently, using fingertip pressure only. The core will usually turn a small amount before it stops.
- Stop as soon as you feel firm resistance. The goal is snug, not forced.
- Spray soapy water over the valve tip again. If the bubbling has stopped, the core was simply loose.
- Check the tire pressure, top it up to the placard figure and refit the cap.
How tight is snug? Valve cores need only a few inch-pounds of torque. Schrader’s published installation torque for standard cores is 3 to 5 inch-pounds, which is about the force you would use to tighten a small jar lid with two fingers. You cannot measure that by feel with any precision, and you do not need to. If you are leaning on the tool or using your whole hand, you are past the point of usefulness. Over-tightening can crush the core’s rubber seal or strip the soft threads inside the stem, turning a free fix into a stem replacement.
When the Core Still Leaks
If bubbles continue after snugging the core, replace it. Cores are cheap and sold in small packs. Let the air out, unscrew the old core with the tool, thread in a new one by hand, snug it gently and reinflate. Debris on the seal or a weak internal spring often causes leaks that tightening cannot fix.
On TPMS stems, use the core specified for that sensor. Many TPMS valves use aluminum stems, and the matching cores are nickel-plated to prevent galvanic corrosion between dissimilar metals. A standard brass core can seize in an aluminum stem over time. TPMS service guidance generally calls for a new core whenever the old one is removed, for the same reason.
Rubber Snap-In Stems Can’t Be Tightened
A snap-in stem has no nut and no threads holding it to the wheel. It is a molded rubber valve pulled through the rim hole with a special tool, and it seals by squeezing the rubber against the edge of the hole. There is nothing to tighten.
If soapy water shows bubbles at the base of a rubber stem, or the stem is cracked, the only fix is a new stem. Because the stem is installed from inside the wheel, the tire has to be broken down from the bead, the old stem cut out, the new one pulled through, the tire remounted and the assembly rebalanced. That is a tire shop job. The part itself is inexpensive, and the labor is modest, especially if you time it with other tire work.
Clamp-In and TPMS Stems: Leave the Nut to a Shop
Clamp-in metal stems and most stem-mounted TPMS sensors are held by a retaining nut, often on the outside of the rim, with a rubber grommet that seals against the wheel. On many TPMS setups the sensor body sits against the inside of the rim, and the whole assembly depends on that nut being tightened to a specific torque.
That specification varies by sensor and vehicle, and it is low. Industry service guidance puts typical TPMS stem nut torques somewhere in the range of tens of inch-pounds, and the exact figure must come from the sensor or vehicle manufacturer. Too little torque and the grommet leaks. Too much and you can crush the grommet, strip the aluminum threads, separate the sensor from the stem or crack the sensor body, which turns a leaking seal into a costly sensor replacement.
For that reason, tightening a clamp-in or TPMS stem nut is a job for a tire shop with the right torque tools and the specification on hand. If a sensor stem leaks at the base, the usual fix is a TPMS service kit, which includes a new grommet, nut, washer, core and cap, installed with the tire off the bead. Do not reach for a wrench and give the outer nut a turn hoping to stop a leak.
Valve Caps Matter More Than They Look
The valve cap is not just decoration. Its main job is to keep dirt, grit, road salt and water out of the valve core. A speck of grit on the core’s seal is a classic cause of slow leaks, and moisture inside the stem can freeze in winter and hold the core slightly open. Many caps also contain a small rubber seal that acts as a backup barrier if the core seeps slightly.
A few practical points help.
- Always refit the cap. Replace any that are missing. They cost very little.
- Use plastic caps on aluminum TPMS stems unless the sensor maker approves a metal cap. Metal caps, especially chrome-plated brass, can corrode onto aluminum stems and seize.
- Tighten caps by hand only. Finger-tight is enough.
- Be cautious with novelty caps. Heavy decorative caps add weight to the stem and can strain it at speed, and some pressure-indicating caps hold the core slightly open, which can create the very leak you are trying to avoid.
When to Replace Valve Stems
Valve stems wear out even when nothing is obviously wrong. Rubber stems sit in sunlight, heat, ozone and road chemicals, and they flex with every revolution of the wheel. Over the years they harden, crack and lose their seal.
- With every new set of tires. This is the standard industry recommendation for snap-in rubber stems, because the tire is already off the wheel and a new stem costs little. For TPMS sensors, the equivalent is a service kit of new seals, nut and core whenever the tires are replaced.
- When the rubber is cracked or crazed. Bend a rubber stem gently to one side and look at the base. Fine cracks that open up when flexed mean the stem is due.
- When the stem is damaged. A stem bent by a curb, a car wash brush or a careless inflation should be replaced.
- When metal stems are badly corroded. Corrosion on clamp-in stems can make the core hard to remove and the nut impossible to service properly.
Frequently Asked Questions
You can tighten the valve core yourself with an inexpensive valve core tool, and that fixes most valve leaks. The stem itself either cannot be tightened (snap-in rubber stems) or is held by a nut that requires a specific torque (clamp-in and TPMS stems), which makes it a shop job.
Snug, not forced. Standard valve cores need only a few inch-pounds of torque, roughly the effort of tightening a small jar lid with your fingertips. Turn the tool until you feel firm resistance and stop there.
Spray soapy water on the valve tip and around the base of the stem with the tire fully inflated. Growing bubbles at the tip point to the core, while bubbles at the base or through cracks in the rubber point to the stem itself.
You can drive a short distance to a shop if you keep the tire at the correct pressure and check it often. A slow leak can turn into a fast one if a cracked stem fails, so do not put off the repair. Driving on an underinflated tire damages it and hurts handling and braking.
It is strongly recommended. Rubber stems age with the tires, and replacing them during a tire change costs little because the tire is already off the wheel. Vehicles with TPMS sensors should get a service kit with new seals and a new core.
Yes. They keep dirt, salt and moisture away from the valve core, which prevents the most common cause of core leaks. Many caps also have an inner seal that provides a backup if the core seeps slightly. Always keep a cap on every valve.
Use a metal valve cap with a core tool built into the top, if you have one; otherwise buy an inexpensive valve core tool at an auto parts store. Don’t use pliers, a screwdriver or other improvised tools inside the stem, since they can damage the core.
The Last Word on Valve Stem Leaks
When a tire keeps losing air at the valve, start with soapy water and a valve core tool. A loose core accounts for many valve leaks, and snugging it gently, or replacing it for a few cents, often solves the problem on the spot. Keep it light: a few inch-pounds is all a core needs.
If the bubbles come from the base of the stem or through cracked rubber, the fix moves to a tire shop. Snap-in rubber stems get replaced, which means dismounting the tire, and clamp-in or TPMS stems need their nuts torqued to the manufacturer’s specification so the sensor does not crack. Pair that with good valve caps and fresh stems at every tire change, and the valve should be the last place your air goes missing.
 Summarize this article with:
















Leave a comment