


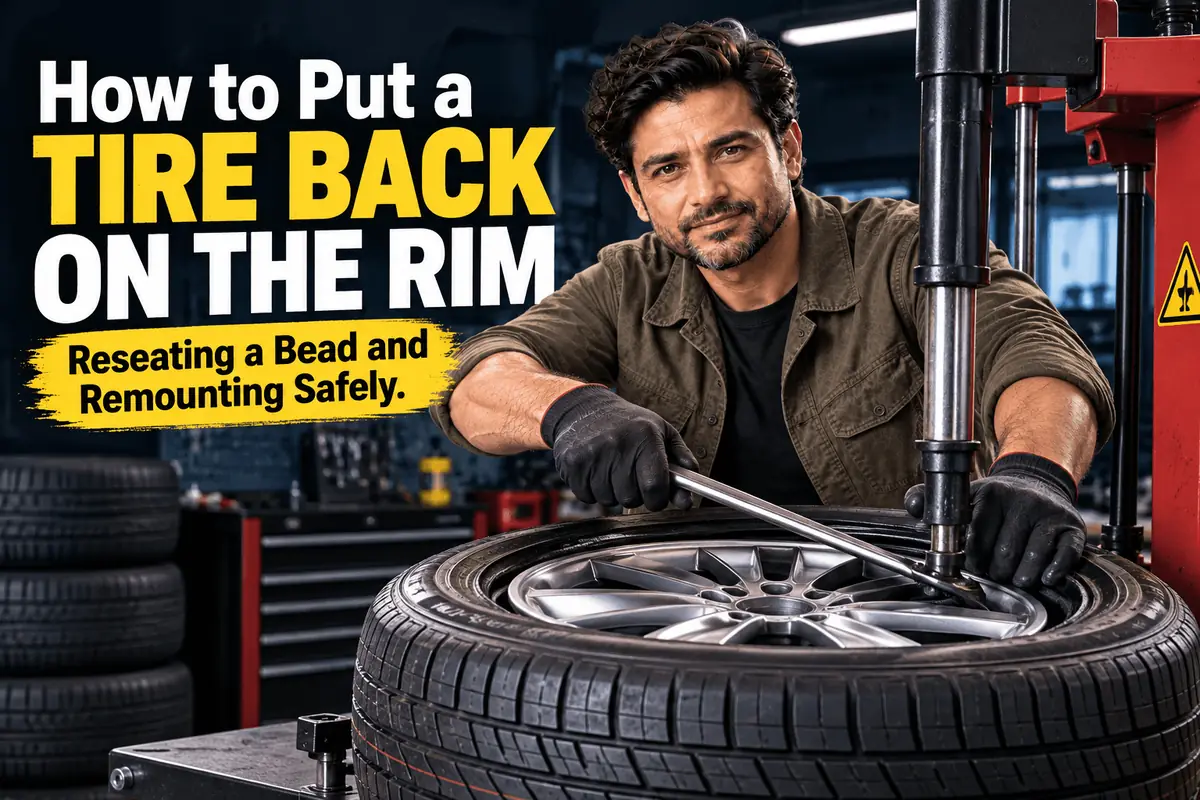
There are two ways people usually end up asking this question. In the first, the tire was fine until it wasn’t: you aired down for sand or rocks, clipped a curb with a soft tire or ran low on pressure, and now part of the bead has slipped off the rim and the tire will not hold air. In the second, the tire is already off for a repair or swap, and you need to get it back on the wheel at home.
Both jobs are doable with basic tools, patience and plenty of lubricant. Both also involve a real danger that gets underestimated: a tire bead under air pressure stores a lot of energy, and seating one carelessly can injure or kill. This guide covers the safety rules first, then the methods that work for each situation, how to confirm the bead is properly seated and when the job belongs at a tire shop.
Table of Contents
Safety First: Why Bead Seating Is Dangerous
When a bead seats, air pressure forces it outward and up onto the rim’s bead seat with a loud pop. If the tire or rim is damaged, the tire is the wrong size for the rim or the pressure is pushed too high trying to force a stubborn bead, the assembly can burst apart with enough force to cause serious injury.
- Respect the bead-seating limit. Many passenger and light truck tires carry a sidewall warning not to exceed 40 psi when seating the beads, which matches long-standing US tire industry guidance. Read your own sidewall and follow the figure stated there. If the bead will not seat at that limit, deflate and find out why rather than adding more air.
- Stand clear. Never stand, lean or reach over the tire while it inflates. Use a clip-on air chuck with an inline gauge and a length of hose so your body stays out of the way.
- Use the right tire for the rim. A tire mounted on a rim of the wrong diameter can never seat properly, no matter how much pressure you add.
- Do not mount damaged parts. A tire with cut or kinked bead wire, or a rim with a cracked or bent flange, should never be inflated.
- Wear eye protection and gloves.
Never use ether, starting fluid, lighter fluid or any flame to seat a bead. The ignition creates an uncontrolled pressure spike that can blow the tire apart, burn you or damage the bead from the inside, and the tire may then fail on the road.
That “fire trick” circulates widely online, and it is exactly the kind of uncontrolled method tire manufacturers warn against. The same goes for using a fire extinguisher to blast a bead on. There are safer ways to get the job done, and they follow below.
Situation One: A Bead That Came Off on the Road
When a bead slips off with the tire still on the vehicle, the most common cause is low pressure combined with a sideways load. Aired-down off-road tires are the classic case, but a hard turn or curb strike on an underinflated street tire can do the same thing. Usually only part of the bead unseats, and the tire deflates quickly.
Before You Try to Reseat It
Inspect the tire carefully first. A bead that came off while moving may have taken damage, and that matters more than getting back on the road quickly.
- Check the sidewall for cuts, bulges or scuffing, especially if the tire was run while flat.
- Look at the exposed bead for torn rubber or exposed or kinked bead wire.
- Inspect the rim flange for bends or cracks.
- Look for debris such as sand, gravel or mud packed between the bead and the rim, and clean it out.
If you find any damage, fit the spare instead and have the tire inspected by a professional. A tire that has been driven flat can have internal damage that is not visible from the outside.
Reseating the Bead
- Clean the bead and the rim’s bead area as well as you can.
- Coat the bead and rim flange with tire mounting lubricant, or soapy water if that is all you have.
- Remove the valve core with a valve core tool. With the core out, air flows in much faster, which is often the difference between a bead that catches and one that does not.
- Push the loose section of bead toward the rim flange by hand or with your knee to close the gap.
- If the gap is too wide to seal, wrap a ratchet strap around the center of the tread and snug it down. Compressing the tread pushes the sidewalls and beads outward toward the rim flanges.
- Add air with a high-volume source using a clip-on chuck, standing clear. Once air starts holding, loosen the strap so the bead can travel freely, then continue inflating until the bead pops into place, staying within the sidewall’s bead-seating limit.
- Deflate, reinstall the valve core and inflate to the pressure on the vehicle’s door placard.
A small portable compressor may not move enough air to seal a large gap. Off-road travelers often carry a larger compressor or an air tank for exactly this reason.
Situation Two: Remounting a Tire at Home
If the tire is completely off the rim, you need to work both beads back on before you can seat them.
What You Need
| Tool | Purpose |
|---|---|
| Tire irons or tire spoons (two or three) | Lever the bead over the rim flange |
| Rim protectors | Keep the irons from scratching or gouging alloy wheels |
| Tire mounting lubricant | Lets the bead slide over the flange and seat evenly |
| Valve core tool | Removes the core for deflation and faster inflation |
| Air compressor with a clip-on chuck and gauge | Supplies enough volume to seat the beads safely |
| Ratchet strap | Pushes the beads outward if they will not seal |
| Bead seater tank (optional) | Delivers a fast, controlled burst of air into a large gap |
Use a proper tire mounting lubricant or a mild solution of soap and water. Skip vegetable oil, petroleum products and silicone sprays. Tire makers specifically warn against petroleum, solvent and silicone lubricants, which can harm the rubber or let the tire slip on the rim after mounting.
Prepare the Tire and Rim
Clean the rim’s bead seats with a wire brush or a non-abrasive cleaner for alloy wheels, removing old rubber, rust and corrosion. Inspect both beads for damage and the rim for bends or cracks. Replace a rubber valve stem if it shows cracks or brittleness, since stems are cheap and a bad one will leak no matter how well the tire is mounted.
Check the tire for orientation as well. Directional tires have a rotation arrow, and asymmetric tires have an “outside” marking. Many tires also carry a yellow dot that marks the tire’s lightest point. Lining it up with the valve stem, which is usually the heaviest point of the wheel, can reduce the balancing weight needed later.
Mount the First Bead
- Lay the wheel flat with the face whose rim edge sits closest to the drop center facing up. On most car wheels, that is the outer face, and it is the side the tire mounts over.
- Lubricate the lower bead generously.
- Set the tire on the rim at an angle and push the bottom bead down over the flange. Much of the first bead often goes on by hand or with body weight.
- Keep the section already mounted pressed down into the drop center, the deep channel in the middle of the rim. This gives you the slack to work the rest of the bead over.
- Use a tire spoon for the last section, levering in small bites.
Mount the Second Bead
This is where most people struggle, and the drop center is the key to winning.
- Lubricate the upper bead and the rim flange.
- Push the part of the bead opposite where you are working down into the drop center, and hold it there with a knee or a third tire iron.
- Insert a tire spoon a few inches away from the section already on and lever a small bite of bead over the flange, using rim protectors on alloy wheels.
- Insert a second spoon a few inches farther along and repeat, working around the rim in small sections.
- As you approach the end, the bead gets tight. Push more of the mounted bead into the drop center rather than forcing the spoons harder.
- Keep the spoons away from the valve stem, and especially from a TPMS sensor if the wheel has one.
If the bead will not go on, stop and add more lube, and check that the opposite side is sitting in the drop center. Brute force is what tears beads.
Seat the Beads
- Lubricate both beads and the rim’s bead seats one more time.
- Remove the valve core for maximum airflow.
- Clip on the chuck and inflate, standing clear of the assembly.
- If air escapes past the beads, wrap a ratchet strap around the tread to push the beads outward, then try again. A bead seater tank can also close a large gap with a quick blast of air.
- Listen for the pop as each bead seats, and do not exceed the bead-seating pressure on the sidewall.
- Reinstall the valve core and set the pressure to the vehicle placard.
How to Confirm the Bead Is Seated
Every tire has a thin molded ridge on the lower sidewall just above the rim, often called the bead line or rim line. When the bead is fully seated, that line sits an even distance from the rim flange all the way around, on both sides of the tire.
If the line dips closer to the rim in one spot or disappears beneath the flange, the bead is not fully seated. Do not keep adding air to force it. Deflate completely, relubricate and try again. Once the line is even, check for leaks by brushing soapy water on the bead area and valve stem and watching for bubbles, then confirm the pressure holds over time.
A remounted tire also needs balancing before you drive any distance at speed, since even small imbalances cause vibration on the highway. When you reinstall the wheel, tighten the lug nuts in a star pattern to the torque in your owner’s manual, and recheck the torque after the first short drive.
When to Take It to a Shop
Some tires are best left to professionals with mounting machines and the right equipment.
- Run-flat tires. Their reinforced sidewalls are extremely stiff, and many manufacturers require machine mounting with specific procedures.
- Low-profile tires. Short, stiff sidewalls make hand mounting difficult and raise the risk of damaging both the bead and an expensive wheel.
- TPMS-equipped wheels. Sensors mounted inside the wheel are easily broken by a tire iron, and replacements are costly.
- Any sign of bead damage. Torn rubber, exposed wire or a kinked bead means the tire should be inspected, not reinstalled.
- A tire driven flat. Internal sidewall damage may not be visible, and a shop can inspect the inside of the tire.
- A bead that will not seat at the sidewall limit. Something is wrong with the tire, rim or fit, and more pressure will not fix it.
For a single passenger tire, a shop visit to mount and balance it often costs less than the tools you would buy to do it yourself, and the shop takes on the risk of seating it.
Frequently Asked Questions
Follow the bead-seating limit on the tire’s sidewall. Many passenger and light truck tires state a maximum of 40 psi for seating the beads. If the bead will not seat at that pressure, deflate and find the problem rather than adding more air. After the bead is seated, inflate to the pressure on your vehicle’s door placard.
Yes, for most standard passenger and light truck tires. With tire spoons, rim protectors, mounting lubricant and a good air source, you can mount and seat a tire by hand. Run-flat and very low-profile tires are a different story and are best handled with a mounting machine.
The usual causes are too little lubricant, not enough airflow to seal the gap or a bead that is not centered on the rim. Remove the valve core, relubricate both beads and use a ratchet strap around the tread to push the beads outward. If it still will not seat, the tire, rim or size match may be the problem.
No. Igniting a flammable vapor inside a tire creates an uncontrolled pressure spike that can blow the assembly apart, cause burns and damage the bead from within. Tire manufacturers warn against it, and a ratchet strap, more lubricant and a high-volume air source are far safer alternatives.
Only after inspecting it carefully. Check the bead, sidewall and rim for damage, especially if the tire was driven while flat. If anything looks wrong, or you are unsure, fit the spare and have the tire inspected professionally.
Look at the molded bead line just above the rim on both sides of the tire. It should sit an even distance from the rim flange all the way around. If it dips or disappears in one area, deflate, relubricate and reseat the tire.
Putting It All Together
Getting a tire back on the rim comes down to three things: plenty of lubricant, using the rim’s drop center rather than brute force and enough airflow to seal the beads. A ratchet strap around the tread and a removed valve core solve most stubborn seating problems without any risky tricks.
The safety rules are not optional. Stay within the bead-seating pressure on the sidewall, stand clear with a clip-on chuck, never use ether or fire and inspect for damage any time a bead has come off on the road. For run-flats, low-profile tires, TPMS wheels or any tire with bead damage, let a shop with the right equipment handle it.
 Summarize this article with:












Leave a comment