


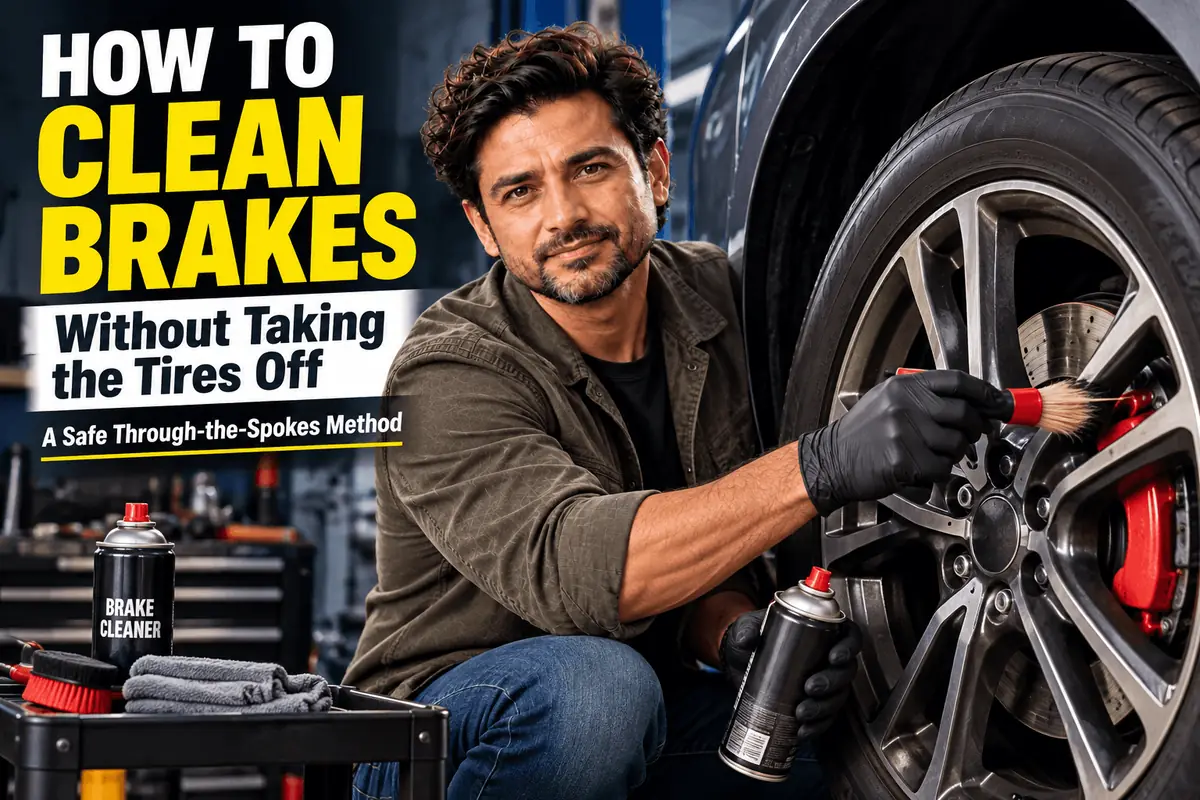
Brake dust is the reason a freshly washed car can still look grubby. It cakes onto calipers, darkens the rotor hat and spreads across the wheel face within days. Pulling all four wheels just to clean that grime means a jack, stands, a torque wrench and the better part of an hour, which is exactly why most owners never do it.
The good news is that you can clean a surprising amount of the brake assembly with the wheels on, working through the spokes with a hose, the right chemicals and a slim brush. The catch is knowing what this method can reach, which brake cleaner to use, how to protect yourself, and which symptoms mean the wheel has to come off for a real inspection. This guide covers all of it.
Table of Contents
What You Can and Can’t Clean With the Wheels On
Spraying through the spokes gives you access to the parts you can see: the outer face of the caliper, the visible portion of the rotor, the rotor hat and edge, and much of the dust shield behind them. How much of that you can actually reach depends on the wheel. Wide five-spoke designs leave plenty of room for a brush, while dense multi-spoke or mesh wheels allow only a narrow detail brush and careful aim.
What you cannot do is clean or inspect the back of the caliper, the inner brake pad, the slide pins or the inner face of the rotor in any meaningful way. Mud or clay packed between the rotor and the dust shield often resists a wheels-on rinse as well.
Wheels-on cleaning is maintenance for appearance and dust-related noise. It is not a substitute for a brake inspection or service.
Chlorinated vs. Non-Chlorinated Brake Cleaner
Aerosol brake cleaner is a fast-evaporating solvent that strips oil, grease and brake fluid from metal parts and leaves no residue. It comes in two broad families, and the difference matters for your safety.
| Type | Strengths | Drawbacks | Best For |
|---|---|---|---|
| Non-chlorinated | Widely available, legal everywhere, fewer long-term health concerns | Highly flammable; can be harsher on some plastics and paint | Most DIY brake cleaning |
| Chlorinated | Nonflammable, very fast, strong degreasing | Serious health concerns from vapors; can form toxic gases near heat or flame; restricted in some states and under federal rules | Limited professional use where permitted |
Non-chlorinated cleaners usually rely on hydrocarbon or alcohol-based solvents. They are highly flammable, so treat the can and the surrounding area as a fire hazard: no smoking, no open flames, no sparks, and no spraying onto hot components.
Chlorinated cleaners have traditionally used solvents such as perchloroethylene or trichloroethylene. They do not burn, which is why shops once favored them, but their vapors carry well-documented health risks, and heating them can produce highly toxic byproducts. California restricts chlorinated solvents in automotive maintenance products, and federal EPA rules finalized in late 2024 began phasing out many uses of trichloroethylene and perchloroethylene. Availability varies by state, so check local rules. For home use, a non-chlorinated cleaner is the sensible default.
Whichever you buy, brake cleaner can damage paint, clear coat, plastics and rubber. Keep it off the wheel face, the body and the tire wherever possible, and rinse away any overspray promptly.
Safety First
Brake cleaning combines solvents, fine dust and a car you are about to drive. Take these precautions every time.
- Work with cool brakes and a cool engine. Let the car sit until the wheels and rotors are cool to the touch. Hot rotors flash-evaporate chemicals, increase fire risk with flammable cleaners, and can be stressed by a sudden blast of cold water.
- Ventilate. Work outdoors or with the garage door fully open. Never use brake cleaner in a closed space.
- Protect your eyes and skin. Wear safety glasses and nitrile gloves. Brake cleaner and wheel chemicals sting badly in the eyes.
- Avoid breathing brake dust. Brake dust contains metal particles, and some older vehicles may still have asbestos in their brake components. Keep the dust wet rather than blowing it off with compressed air, and wear a dust mask or respirator when spraying.
- No ignition sources. Keep flames, cigarettes, grinders and work lights that run hot well away.
- Catch the runoff. Slide a drip pan or absorbent mat under the wheel to collect solvent and dirty water rather than letting it run into the driveway or storm drain.
What You Need
- A garden hose with a jet nozzle, or a pressure washer on a moderate setting
- A pH-balanced wheel cleaner or an iron remover for brake dust
- Non-chlorinated aerosol brake cleaner with a straw attachment
- A long, slim barrel brush that fits between the spokes, plus a narrow detail brush
- A drip pan or absorbent mat
- Safety glasses, nitrile gloves and a dust mask
- Microfiber towels for wiping overspray off the wheel and tire
Step-by-Step: Cleaning Brakes Through the Wheel
- Park on level ground in the shade, set the parking brake, and wait until the brakes are cool to the touch.
- Position the drip pan beneath the wheel and put on your safety glasses, gloves and mask.
- Rinse through the spokes with water, aiming at the caliper and rotor from several angles. Rinsing brake dust with plain water is perfectly fine and removes a lot of loose grime. If you use a pressure washer, keep the nozzle well back, at least 12 inches, from rubber seals, boots and brake hoses.
- Spray a pH-balanced wheel cleaner or an iron remover onto the caliper and visible rotor area through the spokes. Iron removers often turn purple as they react with brake dust and have a strong sulfur smell, which is normal.
- Agitate with the barrel brush. Scrub the face of the caliper, then reach around it as far as the spokes allow to loosen dust from the edges and the dust shield.
- Rinse thoroughly until the runoff runs clear, including behind the rotor where dust collects on the dust shield.
- For grease or oily grime the wheel cleaner did not lift, use the straw on the brake cleaner to target the caliper body in short bursts. Shield the wheel face and tire with a towel, and let the solvent drip into the pan.
- Wipe any brake cleaner overspray off the wheel and tire immediately, then rinse those surfaces with water.
- Let any brake cleaner evaporate fully before moving the car.
- Make a few gentle stops at low speed in a safe place. The light heat dries the pads and rotors, and the first stop may feel weak while they are wet, so test the brakes before you pull into traffic.
A thin orange haze on the rotors after cleaning or overnight is flash rust on bare cast iron. It wipes off within the first few stops and is nothing to worry about. A brief grinding sound on those first stops is usually the pads scraping it away.
Clean the brakes before washing the rest of the car, since the dirty runoff splashes onto the tires, wheels and lower body.
Keep Lubricants and Dressings Away From Friction Surfaces
The fastest way to ruin a brake cleaning job is to contaminate what you just cleaned. Rotors and pad faces must stay completely free of oil.
- Never spray WD-40 or any lubricant to quiet a squeak. It may silence the noise by reducing friction, which is the very thing your brakes need to stop the car.
- Apply tire shine with an applicator, not an aerosol. Overspray drifts easily onto rotors and can sharply reduce braking. Spray the dressing onto a pad away from the car, then wipe it onto the sidewall.
- Leave brake lubricant to a proper service. Lubricant has its place on slide pins and contact points during a brake job with the wheel removed, never on friction surfaces. Our brake lubricant guide explains which products go where.
If a rotor or pad does get contaminated, clean the rotor with brake cleaner and have the pads checked, since oil-soaked pads usually need replacement.
When the Wheel Has to Come Off
Some brake noises and sensations have nothing to do with dust, and no amount of spraying will fix them. Treat these as signs that the brakes need a proper inspection with the wheel removed.
| Symptom | Likely Cause | What to Do |
|---|---|---|
| High-pitched squeal that persists after cleaning | Worn pads contacting the wear indicator | Inspect pads; replace if worn to the indicator |
| Grinding or metal-on-metal noise | Pads worn through to the backing plate, or debris trapped | Stop driving as soon as practical and inspect |
| Pulsing or vibrating brake pedal | Uneven rotor thickness or pad deposits | Measure and resurface or replace rotors |
| Car pulls to one side when braking | Sticking caliper or seized slide pins | Service the caliper and slide pins |
| Scraping noise after off-road driving | Stone or packed debris between rotor and shield | Remove the wheel and clear the debris |
| Outer pad looks thin, or wear looks uneven | Possible uneven inner pad wear | Remove the wheel to check the inner pad |
A squeal caused by worn pads deserves special attention, because many pads use a small metal tab that deliberately screeches when the friction material runs low. Cleaning can quiet dust-related noise temporarily, but if the squeal returns quickly, the pads are telling you something.
Pros and Cons of Wheels-On Brake Cleaning
Pros
- Much faster than removing and reinstalling four wheels
- No jacking or lifting, which removes the risk of working under a raised car
- Easy enough to do every wash, so dust never gets a chance to bake on
- Often reduces dust-related squeal and makes wheels stay cleaner longer
Cons
- Cannot reach the back of the caliper, the inner pad or the slide pins
- No real opportunity to inspect pad thickness, hoses or suspension parts
- Packed mud and clay may stay put
- Messy runoff that needs to be caught and rinsed off the tires and body
Frequently Asked Questions
Yes, with care. Use it only on cool brakes, in a well-ventilated area, with eye protection and no ignition sources nearby. Aim with the straw, shield the wheel and tire with a towel, and wipe off any overspray quickly, since brake cleaner can damage paint and rubber.
Yes. Plain water is fine for brake components and removes a good share of loose dust. Wheel cleaners and iron removers simply do a more thorough job on bonded dust, and brake cleaner handles grease.
A non-chlorinated cleaner is the practical choice for most DIYers. It is widely available and avoids the health concerns tied to chlorinated solvents, but it is highly flammable, so keep it away from heat and flames.
It can. Spraying cold water on very hot rotors subjects them to rapid, uneven cooling and is best avoided. Waiting until the wheels are cool to the touch removes the risk and also keeps chemicals from flash-drying.
A short grinding sound on the first few stops is usually the pads scraping off a thin layer of flash rust that formed on the wet rotors. If grinding continues beyond a handful of stops, have the brakes inspected.
Rarely. Pedal pulsation usually points to uneven rotor thickness or pad deposits on the rotor, both of which need mechanical service. Cleaning will not correct either one.
The Verdict on Cleaning Brakes With the Wheels On
For keeping brake dust under control and wheels looking sharp, the through-the-spokes method is hard to beat. A rinse, a wheel cleaner or iron remover, a slim brush and a short burst of non-chlorinated brake cleaner handle most of what you can see, in a fraction of the time it takes to pull the wheels. Done every wash, it keeps dust from building up to the point where it bakes on.
Be clear about its limits, though. This is cleaning, not service. Persistent squeal, grinding, a pulsing pedal or a pull to one side are mechanical problems that require removing the wheel and inspecting the pads, rotors and caliper. Keep lubricants and tire dressings away from friction surfaces, protect your eyes and lungs, and test the brakes before driving, and wheels-on cleaning becomes a safe, worthwhile part of your routine.
 Summarize this article with:

















Leave a comment