


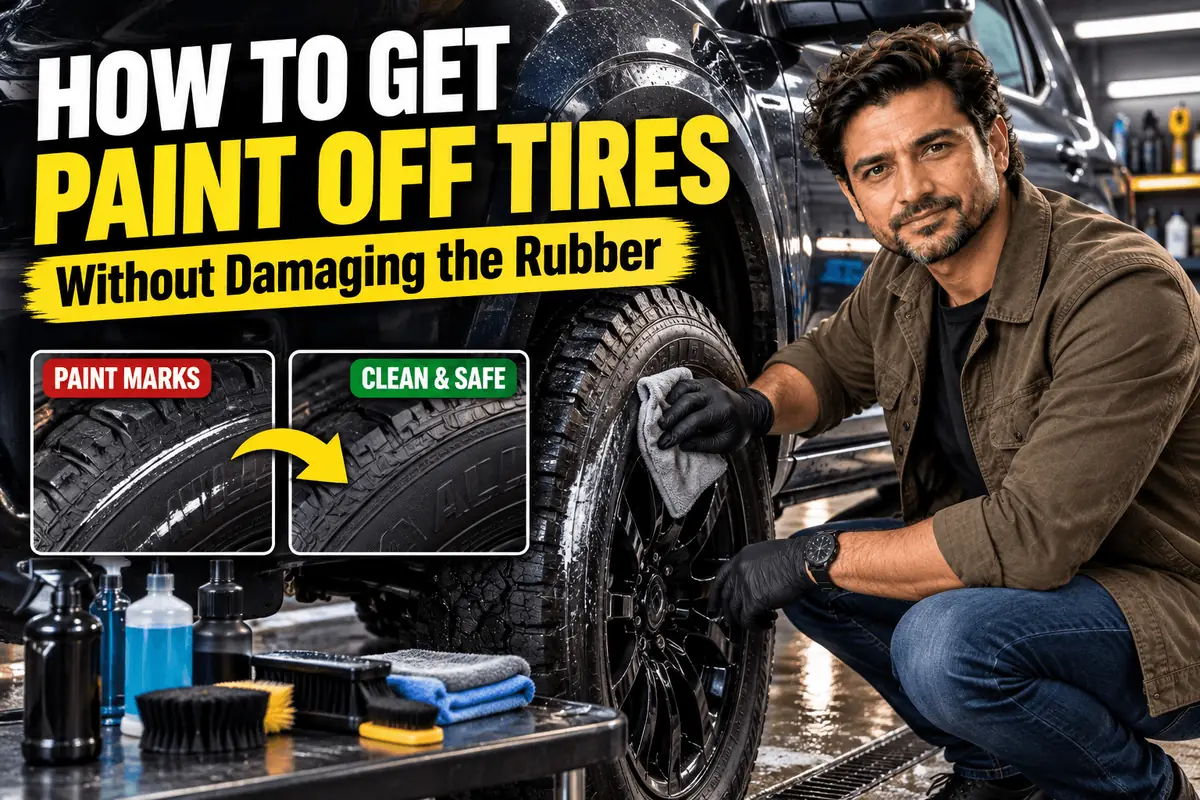
Paint finds tires in all kinds of ways. You drive through a freshly striped road before the lines have set, a neighbor’s house painter lets the spray drift across your driveway, a weekend caliper project leaves a mist of color on the sidewall, or a can of tire-lettering paint goes where it should not. Whatever the cause, the reaction is the same: you want it gone, and you reach for the strongest thing in the garage.
That instinct is where most of the damage happens. Tire rubber is a carefully balanced compound that contains oils and protective waxes that keep it flexible and resistant to ozone and sunlight. Harsh solvents strip those out, leaving rubber that dries, discolors and cracks. The good news is that most paint comes off tires with patience and mild products. This guide works from the gentlest method upward, explains when to stop, and covers how to protect your wheels along the way.
Table of Contents
Identify What Kind of Paint You Are Dealing With
The type of paint, and how long it has been there, decides how much effort the job takes. You do not need a lab test, just a reasonable guess.
| Paint Situation | Typical Cause | What to Expect |
|---|---|---|
| Overspray | House painting, auto body work, wheel or caliper painting nearby | Fine speckles that sit on the surface and often lift with gentle methods |
| Road-marking paint | Driving through freshly painted lane lines | Mostly on the tread, wears away with normal driving |
| Spray paint | Aerosol projects, vandalism | A thin, even coat that bonds well and may need a mild solvent |
| Tire paint or paint pens | Lettering or blackening products that strayed onto the wrong area | Made to stick to rubber, so it calls for patience |
| Latex or oil-based house paint | Spills, drips, rolling through a paint tray | Latex is easiest when fresh, oil-based is tougher once dry |
Water-based latex and acrylic paints soften with soap and water, especially while fresh. Oil-based paints dry harder and ignore water but respond to mineral spirits. Spray paints, particularly automotive aerosols, are formulated to grip a range of surfaces, so they cling to rubber better than house paint does.
Timing matters as much as type. Fresh, wet paint is far easier to remove than paint that has dried and cured onto the rubber, so the best time to act is as soon as you notice it.
Gather Rubber-Safe Supplies Before You Start
Having the right materials on hand keeps you from improvising with something harmful halfway through the job.
- Car wash soap or mild dish soap and a bucket of warm water
- A stiff, non-metallic tire brush, plus an old toothbrush for lettering and tread grooves
- A dedicated tire cleaner from a reputable car care brand
- Isopropyl alcohol, ideally 70% or stronger
- A detailing clay bar and clay lubricant or a detail spray
- A plastic scraper or plastic razor blade
- Microfiber towels you do not mind staining
- Painter’s tape and plastic sheeting to protect the wheels
- Nitrile gloves and eye protection
Work in the shade with the tires cool to the touch. A hot tire or direct sun makes cleaners and solvents evaporate before they can work, and heat speeds up any reaction with the rubber.
Step 1: Soap, Water and a Stiff Brush
Always start here. It is the method least likely to cause harm, and on fresh latex paint or light overspray it is often all you need.
- Rinse the tire with a hose to remove loose dirt and grit, which can scratch the wheel if you scrub through it.
- Mix warm water with car wash soap or a squirt of dish soap.
- Scrub the painted area firmly with a stiff, non-metallic brush, working in small circles.
- Use the toothbrush around raised lettering and inside tread grooves.
- Rinse thoroughly and let the area dry so you can see what is left.
Repeat a few times before moving on. Paint that looks stubborn after one round often loosens on the second or third. If speckles remain, you are ready for the next level.
Step 2: Move Up to Rubber-Safe Options
These methods remove more paint than soap alone while staying kind to the rubber. Try them roughly in this order.
Dedicated Tire Cleaner
A purpose-made tire cleaner removes old dressing, browning and road film, and that alone sometimes releases paint that was sitting on top of the residue. Spray it on, let it dwell for the time listed on the label, agitate with the brush and rinse. Follow the label’s instructions for dwell time and keep it from drying on the surface.
Isopropyl Alcohol
Isopropyl alcohol softens many water-based paints and some spray paints, and it evaporates quickly without leaving an oily film. Dampen a microfiber towel, hold it against the paint for a short time, then rub with light pressure. Switch to a clean section of the towel as color transfers. Wash the area with soapy water afterward. Alcohol can dry rubber with repeated heavy use, so treat it as a targeted tool rather than something to flood across the sidewall.
Clay Bar
Detailing clay is especially good at lifting overspray, those fine dots of paint that sit on the surface without soaking in. Spray the area generously with clay lubricant or detail spray, then glide a flattened piece of clay across it with light pressure. The clay grabs the speckles and pulls them free without abrasion. Keep the surface wet the whole time, and fold the clay to a clean face as it picks up color. A clay bar used on tires should not go back on your paintwork afterward, since it will be full of rubber and contaminants.
Plastic Scraper
For thick drips or blobs of dried paint, a plastic scraper or plastic razor blade can shave off the bulk so your cleaners only have to deal with a thin layer. Wet the surface first, hold the blade at a low angle and push gently. Never dig into the rubber, and stay clear of raised lettering edges, which nick easily.
Step 3: Stronger Solvents, Used Sparingly
If rubber-safe methods have removed most of the paint but a stubborn layer remains, mineral spirits or acetone can finish the job. Both are effective paint solvents, and both can dry out, discolor or damage tire rubber if they are left on too long or used too generously. Treat them as a last step in small doses.
- Spot test first. Choose a small, inconspicuous area low on the sidewall, apply a little solvent with a cloth, wait a short time and wipe. If the rubber turns gray, feels tacky or looks dull and dry, stop.
- Apply to the cloth, not the tire. Dampen a corner of a towel instead of pouring or spraying solvent on the sidewall, which keeps it off the wheel and limits how much reaches the rubber.
- Work small and fast. Wipe a single patch of paint for a few seconds, then move on. Do not let solvent sit or soak.
- Rinse immediately. Wash each treated area with soapy water right away to remove all solvent residue, then rinse with clean water.
Mineral spirits are the milder of the two and are the usual choice for oil-based paint. Acetone is more aggressive and is best kept for small, stubborn spots of spray paint. Use either one outdoors, away from sparks or flames, and wear gloves.
If a solvent changes the color or texture of the rubber, stop using it. A faint shadow of paint is a cosmetic issue. Dried, cracked rubber is a safety issue.
Gentle Heat as a Helper
A hair dryer on a low or medium setting can soften dried paint for a minute before you scrub or clay it. Keep it moving and stop if the rubber becomes uncomfortable to touch. Skip heat guns, torches and boiling water, which can overheat the rubber quickly.
What Not to Use on Tires
Some products remove paint very well and harm tires just as effectively. Leave these on the shelf:
- Brake fluid, which can attack rubber and is highly corrosive to painted wheel finishes
- Paint stripper, which is formulated to break down coatings and is far too harsh for tire rubber and wheels
- Heavy acetone soaking, which goes well beyond a quick spot treatment and can dry and crack the rubber
- Gasoline, kerosene and brake cleaner, which strip the oils and protectants that keep rubber flexible
- Bleach and harsh household chemicals, which can discolor and degrade rubber
- Lacquer thinner, a very aggressive solvent with the same risks as heavy acetone use
- Wire wheels, wire brushes and metal scrapers on the sidewall, which tear the surface and can gouge the rubber that holds the tire’s structure
Never mix cleaning products to make something stronger. Some combinations, such as bleach and ammonia, release toxic fumes. Use one product at a time and rinse thoroughly before switching to another.
Protect Your Wheels While You Work
The wheel is often more vulnerable than the tire. Acetone, lacquer thinner and many strong solvents can soften or haze clear coat, painted finishes and powder coat, and some cleaners can stain bare or polished aluminum and chrome if they dry on the surface.
- Mask the wheel lip and face with painter’s tape and plastic sheeting before using any solvent.
- Apply products to a towel rather than spraying them near the rim.
- Rinse the wheel along with the tire after each step, so nothing dries on the finish.
- Use a separate, soft wheel brush on the wheel itself. The stiff tire brush can scratch it.
- If paint is on the wheel too, use a cleaner made for your wheel’s finish, and treat it as a separate job.
Road-Line Paint: Usually Best Left Alone
Freshly painted road lines are one of the most common ways paint ends up on tires, and it is also the easiest case. Most of that paint lands on the tread, and the tread is constantly scrubbing against the pavement. Normal driving wears the paint away, often within a short distance, without you doing anything.
Scrubbing tread with solvents gains you very little and risks drying out the rubber that grips the road. If some lane paint reached the sidewall or lettering, start with soap, water and a brush, then try a clay bar or tire cleaner. If the car body caught splatter, deal with that promptly, since paint on automotive clear coat is a bigger concern than paint on tread.
Aftercare: Restore and Protect the Rubber
Once the paint is gone, give the tire a final wash with soapy water and a thorough rinse so no solvent or cleaner residue remains. Let it dry completely.
Then look closely at the areas you worked on. Gray or white discoloration, a dry or chalky look, tackiness or fine surface cracks are signs the rubber took some punishment. A quality water-based tire dressing applied with a foam applicator restores a darker, even appearance. Wipe off any excess so it does not sling onto the paint when you drive. Avoid heavy petroleum-based dressings on rubber that has just been cleaned with solvents.
If you see cracks, cuts or damage that goes deeper than the surface, have a tire shop inspect the tire before you rely on it. Cosmetic marks are fine to live with, but structural damage to a sidewall is not.
Keep Paint Off Your Tires Next Time
Prevention takes a few minutes and saves an afternoon of scrubbing.
- Cover the tires and wheels with plastic sheeting or wheel masking covers whenever you paint nearby or have overspray work done.
- Move the car away from house painting, especially when sprayers are in use, and park upwind if you cannot move it far.
- Drive around fresh road markings when it is safe, and watch for wet-paint signs in work zones.
- Keep a towel, soap and water handy so a fresh spill can be washed away before it dries.
Frequently Asked Questions
Start with warm soapy water and a stiff, non-metallic brush. If paint remains, move to a dedicated tire cleaner, isopropyl alcohol, a clay bar or a plastic scraper. Only after those should you consider a small amount of mineral spirits or acetone, spot tested first and rinsed off right away.
It can. Acetone is a strong solvent that can dry out, discolor and crack rubber with prolonged contact, and it can damage painted or clear-coated wheels. A quick wipe on a small stubborn spot, followed immediately by a soapy rinse, keeps the risk low. Soaking a tire in it does not.
Usually not. Road-line paint mostly lands on the tread, which wears it away with normal driving. If paint ended up on the sidewall or lettering, soap, water and gentle scrubbing are the right place to start.
Yes, especially for overspray. Detailing clay pulls fine paint particles off the surface without abrasion, as long as you keep the area well lubricated. Use a separate piece of clay for tires, since it will pick up contaminants that would scratch your paint.
Not on the sidewall. A wire brush or wire wheel tears the rubber surface and can gouge it deeply, and the sidewall carries much of the tire’s structure. Stick with stiff nylon brushes and plastic scrapers.
Mask the wheel with painter’s tape and plastic before you start, apply solvents to a towel instead of spraying them near the rim, and rinse the wheel after each step. Many wheel finishes, including clear coat and powder coat, can be hazed or softened by strong solvents.
A light coat of paint is mostly cosmetic, and paint on the tread wears off quickly. The bigger risk comes from the cleanup: aggressive chemicals and tools can damage rubber in ways the paint never would. If a tire shows cracks or gouges after cleaning, have it inspected.
The Smart Approach to Painted Tires
Getting paint off tires is a test of restraint more than strength. Soap, water and a stiff brush handle a surprising amount of it, and rubber-safe tools such as a tire cleaner, isopropyl alcohol, a clay bar and a plastic scraper take care of most of what remains. Mineral spirits and acetone have a place, but only in small doses, with a spot test first and a rinse right after.
Keep brake fluid, paint stripper and wire wheels away from your tires, protect the wheels before any solvent comes out, and let fresh road-line paint wear off on its own. A faint trace of leftover color is a cosmetic flaw you can live with. Rubber that has been dried out or gouged in the name of a perfect finish is a much bigger problem.
 Summarize this article with:


















Leave a comment